If you’ve sold tickets or made transactions on SeatGeek during the year, you might be wondering how to obtain your 1099-K from SeatGeek. This article will explain exactly how to get your hands on this important tax document, breaking down each step and ensuring you’re prepared for tax season. Whether you’ve sold a few tickets for a concert or unloaded several for a sporting event, SeatGeek is required to send you a 1099-K form if your earnings exceed $600. This guide covers everything you need to know, from logging into your SeatGeek account to understanding the form itself. We’ll make sure you’re clear on how to access your 1099-K, what to look for on the form, and how to use it when filing your taxes.

Understanding the 1099-K Form
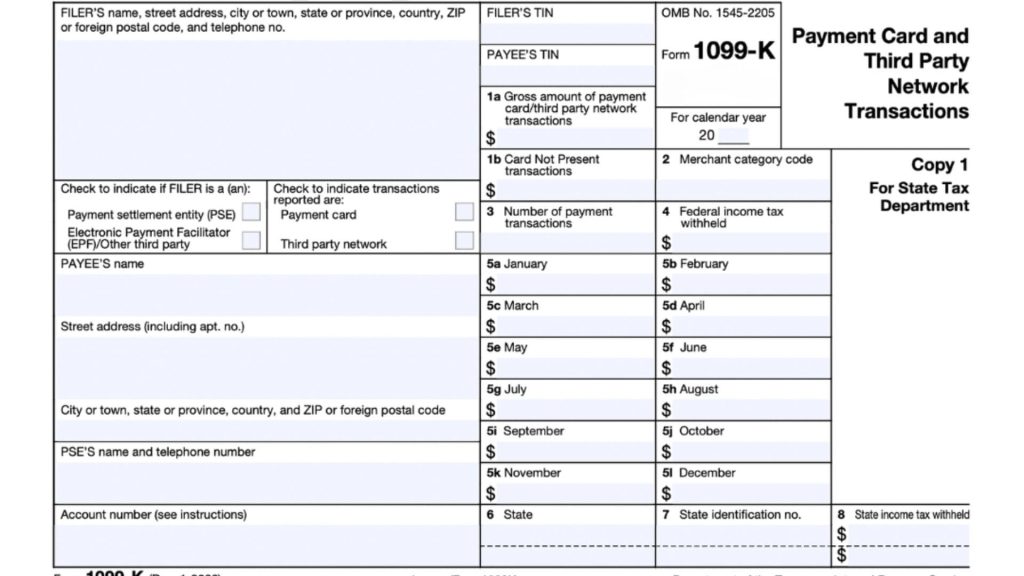
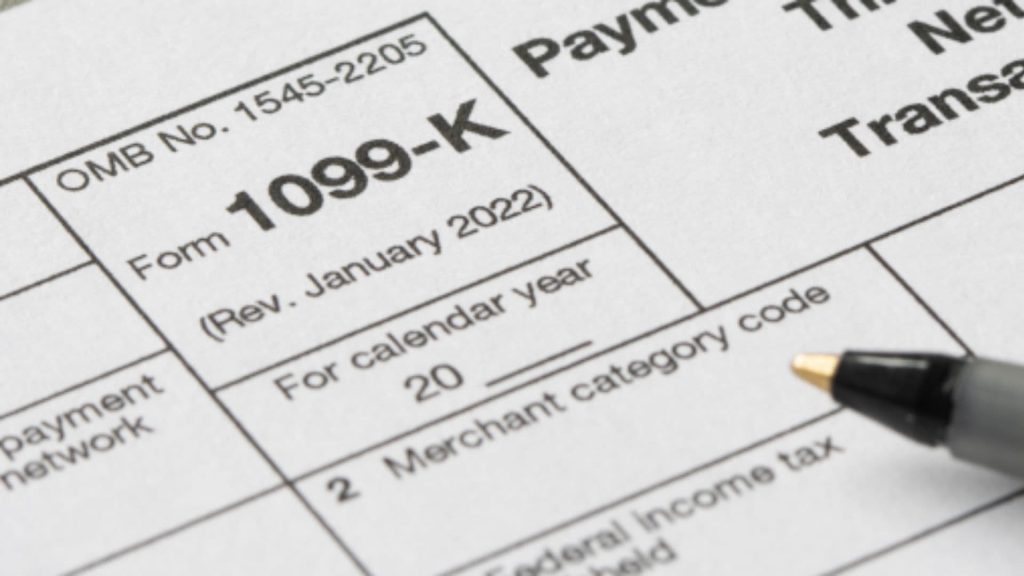
Before diving into the specifics of how to obtain your 1099-K from SeatGeek, it’s important to understand what the 1099-K is and why it matters. The 1099-K form is issued by payment settlement entities (like SeatGeek) and is typically used for transactions involving third-party networks. If you’ve earned money by selling tickets, SeatGeek will send you this form, which reports the total payments you received. Remember, the IRS uses the 1099-K to track income earned through platforms like SeatGeek, so getting it right is crucial.
Step 1: Log Into Your SeatGeek Account
To begin the process of obtaining your 1099-K from SeatGeek, the first step is to log into your account. Head to the SeatGeek website or open the SeatGeek app on your phone. Use your username and password to access your profile. If you’re having trouble logging in, try resetting your password or contacting SeatGeek support.
Step 2: Navigate to the Tax Documents Section
Once logged in, go to your account settings or profile page. You should find a section dedicated to your tax documents or financial records. This is where SeatGeek stores important forms, including the 1099-K. If you can’t find it right away, look for any menu labeled “Tax Information,” “Payment Settings,” or something similar.

Step 3: Download Your 1099-K
In the tax documents section, SeatGeek should have a link to download your 1099-K form. This form will typically be available in PDF format. Click the download link, and you’ll be able to view and print the document. Make sure to save a copy for your records.
Step 4: Review Your 1099-K Form
Once you have your 1099-K in hand, take a few moments to review it. The form will list your total earnings for the year, including all gross payments processed through SeatGeek. Ensure that the numbers match your records and reflect all your transactions accurately. Any discrepancies should be addressed with SeatGeek’s support team.
Step 5: Use the 1099-K for Your Tax Filing
Now that you have your 1099-K, you can use it when filing your taxes. The IRS requires you to report income, including any income from ticket sales through SeatGeek. The 1099-K form will show you the total income you received, and you’ll use this information to accurately complete your tax return. If you’re unsure about how to report this income, it might be a good idea to consult a tax professional.
What to Do If You Don’t Receive Your 1099-K
If you’ve made over $600 in sales through SeatGeek but haven’t received your 1099-K, don’t panic. Check your account to ensure all your transactions are accounted for. If everything looks right, but the form still hasn’t been sent, reach out to SeatGeek’s customer support. They can help track down the issue and send you the form. It’s also a good idea to double-check your contact information to make sure it’s up-to-date.

Additional Tips for Managing Your Tax Documents on SeatGeek
- Keep Track of Your Sales: Throughout the year, it’s a good idea to keep a record of all your ticket sales. This will help you compare your records with the 1099-K form when it arrives.
- Stay Organized: When tax season rolls around, having all your necessary documents organized and easy to find will save you time and stress.
- Consult a Tax Professional: If you’re unsure about how to handle your 1099-K, consider seeking the advice of a tax professional. They can help you navigate the process and ensure you file correctly.
Frequently Asked Questions (FAQs):
Q: When will I receive my 1099-K from SeatGeek?
A: You should receive your 1099-K form from SeatGeek by mid-February, provided you’ve earned over $600 in ticket sales.
Q: What should I do if I don’t see the 1099-K in my SeatGeek account?
A: If you don’t see it, first check your account details for any errors or incomplete information. If everything seems correct, contact SeatGeek support for assistance.
Q: Can I use my 1099-K to file taxes if I earned less than $600?
A: If you earned less than $600, you won’t receive a 1099-K, but you’re still required to report your income to the IRS. Keep your own records to ensure accurate reporting.